iWatch eSIM Guide : Configuration, iPhones compatibles et astuces de voyage
Jun 18,2026 | Wang
Si vous souhaitez laisser votre téléphone à la maison tout en restant connecté, activer le eSIM sur votre iWatch (officiellement connu sous le nom d'Apple Watch Cellular) est la solution parfaite.
Contrairement aux eSIM mobiles standard, une iWatch eSIM ne nécessite pas de scanner un code QR. Au lieu de cela, elle se connecte directement au plan de votre opérateur sur votre iPhone.
Dans ce guide ultime, nous vous guiderons à travers le processus complet de configuration, fournirons la liste complète des iPhones compatibles eSIM et partagerons une astuce de voyage géniale pour éviter les frais d'itinérance coûteux à l'étranger.

GPS vs. Cellulaire : Votre iWatch a-t-il un eSIM ?
Avant de plonger dans le processus de configuration, vous devez d'abord vérifier que votre Apple Watch prend en charge la connectivité cellulaire.
Apple vend deux versions différentes de ses montres :GPS uniquement et GPS + Cellulaire.
Seule la version Cellulaire a un eSIM intégré. Voici comment vous pouvez facilement identifier quel modèle vous possédez :
Le contrôle de la couronne (l'anneau rouge) :
Regardez la Couronne Numérique (le cadran rotatif sur le côté de votre montre).
Si la couronne a uneanneau rouge ou point rougeFélicitations, vous avez la version Cellulaire avec un eSIM.
Si la couronne est complètement unie et correspond à la couleur du boîtier de la montre, il s'agit d'un modèle uniquement GPS et ne peut pas se connecter aux réseaux cellulaires.
Vérification des paramètres :
Sur votre Apple Watch, accédez àParamètreSi vous voyez une option pourCellulaire ou Données mobiles, votre montre est activée eSIM.
Votre iWatch peut-elle avoir un numéro de téléphone différent ?
L'une des questions les plus fréquemment posées est :"Puis-je obtenir un numéro de téléphone séparé pour ma iWatch eSIM ?"
La réponse dépend de la personne qui utilise la montre :
Scénario A : Vous associez la montre avec votre propre iPhone (NumberShare)
Par défaut, l'iWatch eSIM utilise une technologie appelée "NumberShare" (ou "Sync").
Cela signifie que votre Apple Watch partagent exactement le même numéro de téléphonecomme votre iPhone.
Lorsque quelqu'un appelle votre iPhone, votre montre sonnera simultanément.
Vous ne pouvez pas acheter un plan de transport complètement différent ni scanner un code QR aléatoire pour donner à votre montre personnelle un numéro différent.
Scénario B : Vous le configurez pour un enfant (Configuration familiale)
Apple a introduit une fonctionnalité appeléeConfiguration familiale.
Si vous achetez une iWatch pour un enfant ou un parent âgé quineSi vous possédez un iPhone, vous pouvez utiliser votre iPhone pour configurer la montre pour eux.
Dans ce scénario spécifique, la montre eSIMobtiendra son propre numéro de téléphone indépendant.
Cependant, veuillez noter que seuls quelques transporteurs sélectionnés prennent en charge la fonction Configuration familiale.
La liste complète des iPhones compatibles eSIM
Pour activer le eSIM sur votre Apple Watch, vous avez absolument besoin d'un iPhone compatible. Vous ne pouvez pas configurer une iWatch en utilisant un téléphone Android ou un iPad.
De plus, pour utiliser notreAstuce ultime pour voyager en itinérance(vous l'expliquerez plus tard), votre iPhone doit également prendre en charge la technologie eSIM afin que vous puissiez télécharger des forfaits de données de voyage abordables.
Apple était l'un des pionniers de la technologie eSIM. Si vous possédez un iPhone sorti en2018 ou plus tard, il prend probablement en charge eSIM.
Voici la liste complète des compatibilités :
- Apple iPhone XR
- Apple iPhone XS
- Apple iPhone XS Max
- Apple iPhone 11
- Apple iPhone 11 Pro
- Apple iPhone 11 Pro Max
- Apple iPhone SE (2020)
- Apple iPhone 12 Mini
- Apple iPhone 12
- Apple iPhone 12 Pro
- Apple iPhone 12 Pro Max
- Apple iPhone 13 mini
- Apple iPhone 13
- Apple iPhone 13 Pro
- Apple iPhone 13 Pro Max
- Apple iPhone SE (2022)
- Apple iPhone 14
- Apple iPhone 14 Plus
- Apple iPhone 14 Pro
- Apple iPhone 14 Pro Max
- Apple iPhone 15
- Apple iPhone 15 Plus
- Apple iPhone 15 Pro
- Apple iPhone 15 Pro Max
- Apple iPhone 16
- Apple iPhone 16 Plus
- Apple iPhone 16 Pro
- Apple iPhone 16 Pro Max
- Apple iPhone 16e
- Apple iPhone 17
- Apple iPhone 17 Pro
- Apple iPhone 17 Pro Max
- Apple iPhone 17e
- Apple iPhone Air
- Apple iPad Pro 11 pouces (2018 ou plus récent, Wi-Fi + Cellulaire)
- Apple iPad Pro 12,9 pouces (3e génération ou ultérieure, Wi-Fi + Cellulaire)
- Apple iPad Air (3ème génération ou ultérieure, Wi-Fi + Cellulaire)
- Apple iPad (7e génération ou ultérieure, Wi-Fi + Cellular)
- Apple iPad mini (5e génération ou ultérieure, Wi-Fi + Cellulaire)
⚠️ Exceptions régionales cruciales (à lire absolument) :
Si vous avez acheté votre iPhone enChine continentale, Hong Kong ou Macao, vous devez être particulièrement prudent. Apple modifie le matériel dans ces régions.
- Chine continentale :
Presque tous les iPhones vendus ici (de la série XR à la série 15) disposent d'un tiroir à double nano-physique SIM etNE PAS support eSIM du tout.
- Hong Kong / Macao :
iPhone 13 mini, 12 mini et iPhone SE (2e/3e génération) prennent en charge eSIM.
Cependant, les modèles phares plus grands (comme le 14 Pro, le 15 Pro Max) disposent de deux cartes SIM physiques et ne prennent pas en charge eSIM.
Vérifiez toujours en allant surParamètres > Cellulaire.
Si vous voyez leAjouter eSIM ou Ajouter un forfait cellulaireAppuyez sur le bouton, votre téléphone est prêt à l'emploi !
_572x.png?w=758&h=758)
Configurer le service mobile
Vous pouvez transférer un numéro de téléphone depuis un iPhone à proximité ou scanner un code QR de votre fournisseur de réseau.
Apprendre encore plus...
Scannez le code QR
Positionnez le code QR de votre fournisseur de réseau dans le cadre.Apprendre encore plus...
Combien coûte un forfait iWatch eSIM ?
Avant de cliquer sur le bouton "activer", il est important de savoir queL'activation d'une Apple Watch eSIM n'est pas gratuite..
Parce que votre Apple Watch utilisera des données provenant des tours cellulaires de manière indépendante, les opérateurs mobiles la considèrent comme un appareil supplémentaire sur votre réseau.
- Frais mensuels :
Aux États-Unis et dans la plupart des régions d'Europe, les opérateurs (comme AT&T, Verizon, T-Mobile ou EE) facturent généralement des frais supplémentaires de$10 par moispour partager le numéro de votre iPhone et votre forfait de données avec votre montre.
- Assistance des opérateurs :
Tous les opérateurs à bas prix ou MVNO (Opérateur de Réseau Mobile Virtuel) ne prennent pas en charge les eSIM de l'Apple Watch.
Pour vérifier si votre opérateur local spécifique prend en charge les forfaits cellulaires pour montres connectées, vous pouvez les contacter directement ou consulter des annuaires d'opérateurs dédiés aux montres connectées commewatchesim.compour vérifier la compatibilité avec le réseau mondial.
Tutoriel étape par étape : Comment configurer votre iWatch eSIM
Comme mentionné précédemment, vousne pasVous devez scanner un code QR pour activer une Apple Watch. L'ensemble du processus est géré numériquement via votre iPhone.
Assurez-vous que votre iPhone est connecté au Wi-Fi, que le Bluetooth est activé et qu'il exécute la dernière version d'iOS.
Ensuite, suivez ces étapes simples :
- Ouvrez l'application Watch :Ouvrez leapplication Apple Watch sur votre iPhone.
- Accédez aux paramètres cellulaires :Appuyez surMa montre onglet en bas à gauche, faites défiler vers le bas et appuyez sur Cellulaire (ou Données mobiles(dans certaines régions).
- Lancer la configuration : Robinet Configurer le réseau cellulaire.
- Connectez-vous à votre opérateur :Votre iPhone affichera automatiquement une page web hébergée par votre opérateur mobile. Vous devrez vous connecter en utilisant les identifiants de votre compte chez l'opérateur.
- Accepter les conditions et ajouter un forfait :Suivez les instructions à l'écran pour accepter les frais supplémentaires mensuels.
- Attendez l'activation :Vous serez renvoyé à l'application Watch, et le plan cellulaire s'affichera comme "Activation en cours...". Ce processus prend généralement de 2 à 5 minutes. Une fois qu'il est actif, le nom de l'opérateur apparaîtra dans la liste.
Dépannage des erreurs de configuration cellulaire de l'iWatch
Si vous rencontrez des problèmes lors de la configuration, ne paniquez pas. Voici les deux erreurs les plus courantes et comment les corriger :
- Le bouton "Configurer le cellulaire" est grisé / désactivé :
Cela se produit généralement si votre iPhone est géré par un profil d'entreprise, ou si vous avez des restrictions de Temps d'écran activées.
Accédez aux paramètres de votre iPhoneParamètres > Temps d'écran > Restrictions de contenu et de confidentialité > Forfait cellulaire
Changements et assurez-vous qu'il est réglé surPermettre.
- Message d'erreur : "Votre compte n'est pas éligible pour activer le cellulaire sur votre Apple Watch."
Cela signifie que votre forfait de données actuel pour iPhone est soit un forfait prépayé, un forfait d'entreprise, soit un forfait d'un opérateur à bas prix qui ne prend pas en charge NumberShare.
Vous devrez appeler votre opérateur pour mettre à niveau ou changer votre forfait.

Voyager à l'étranger ? Le hack ultime de roaming pour iWatch
Configurer votre iWatch eSIM est idéal pour les joggings matinaux locaux.
Mais que se passe-t-il lorsque vous voyagez à l'étranger ?
La dure réalité de l'itinérance sur iWatch
Tout d'abord, vous ne pouvez pas installer de cartes eSIM de voyage prépayées standard sur une Apple Watch.
Deuxièmement, bien que certains grands opérateurs proposent désormais l'itinérance internationale pour l'Apple Watch, les frais d'itinérance sont notoirement élevés.
Pire encore, rechercher constamment des tours cellulaires étrangères épuisera la batterie de votre Apple Watch en moins de quelques heures.
L'astuce géniale pour voyager (Zéro frais d'itinérance pour votre montre)
Pour garder votre iWatch pleinement fonctionnel à l'étranger sans payer de frais supplémentaires, utilisez leMéthode de récupération Bluetooth:
- Désactiver Watch Cellular :Avant votre vol, allez dans le Centre de contrôle de votre Apple Watch et désactivez l'icône Cellulaire (mettez-la en gris). Laissez le Bluetooth activé.
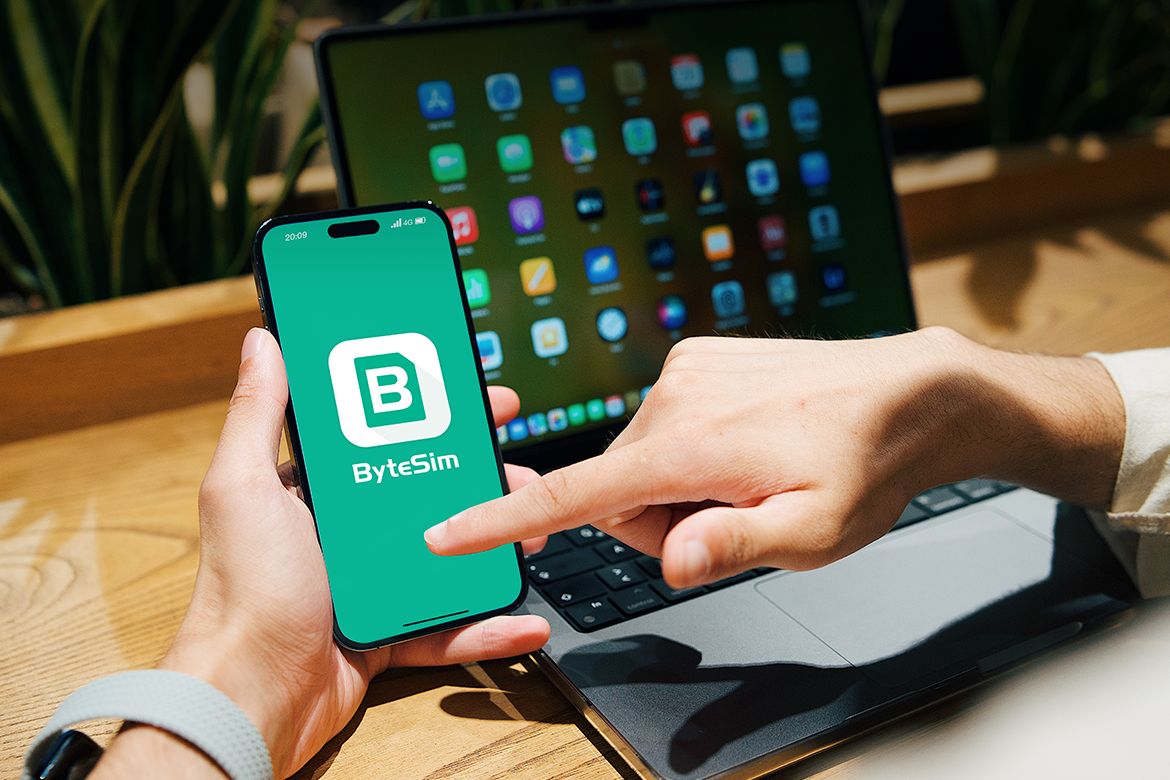
- Achetez un voyage eSIM pour votre iPhone :Au lieu de payer des frais d'itinérance de l'opérateur, achetez une carte SIM prépayée abordable Travel eSIM pour votre destination depuisByteSIM.
- Partagez la connexion :Une fois que vous avez atterri, activez le mode de voyage à grande vitesse eSIM sur votre iPhone.
Si c'est votre première fois en utilisant un numérique SIM, vous pouvez consulter notre guide complet surComment activer et configurer eSIM sur iPhone.
Parce que votre iWatch est connectée à votre iPhone via Bluetooth,il partagera sans effort la nouvelle connexion Internet de votre iPhone pour les voyages eSIM.
Vous recevrez toujours tous vos messages WhatsApp, notifications Instagram et directions Google Maps directement sur votre poignet, économisant ainsi votre batterie et gardant votre portefeuille heureux !
Restez connecté sans effort lors de votre prochaine aventure mondiale.
👉Explorer ByteSIMVoyage eSIM Forfaits pour votre iPhone maintenant


Commentaire